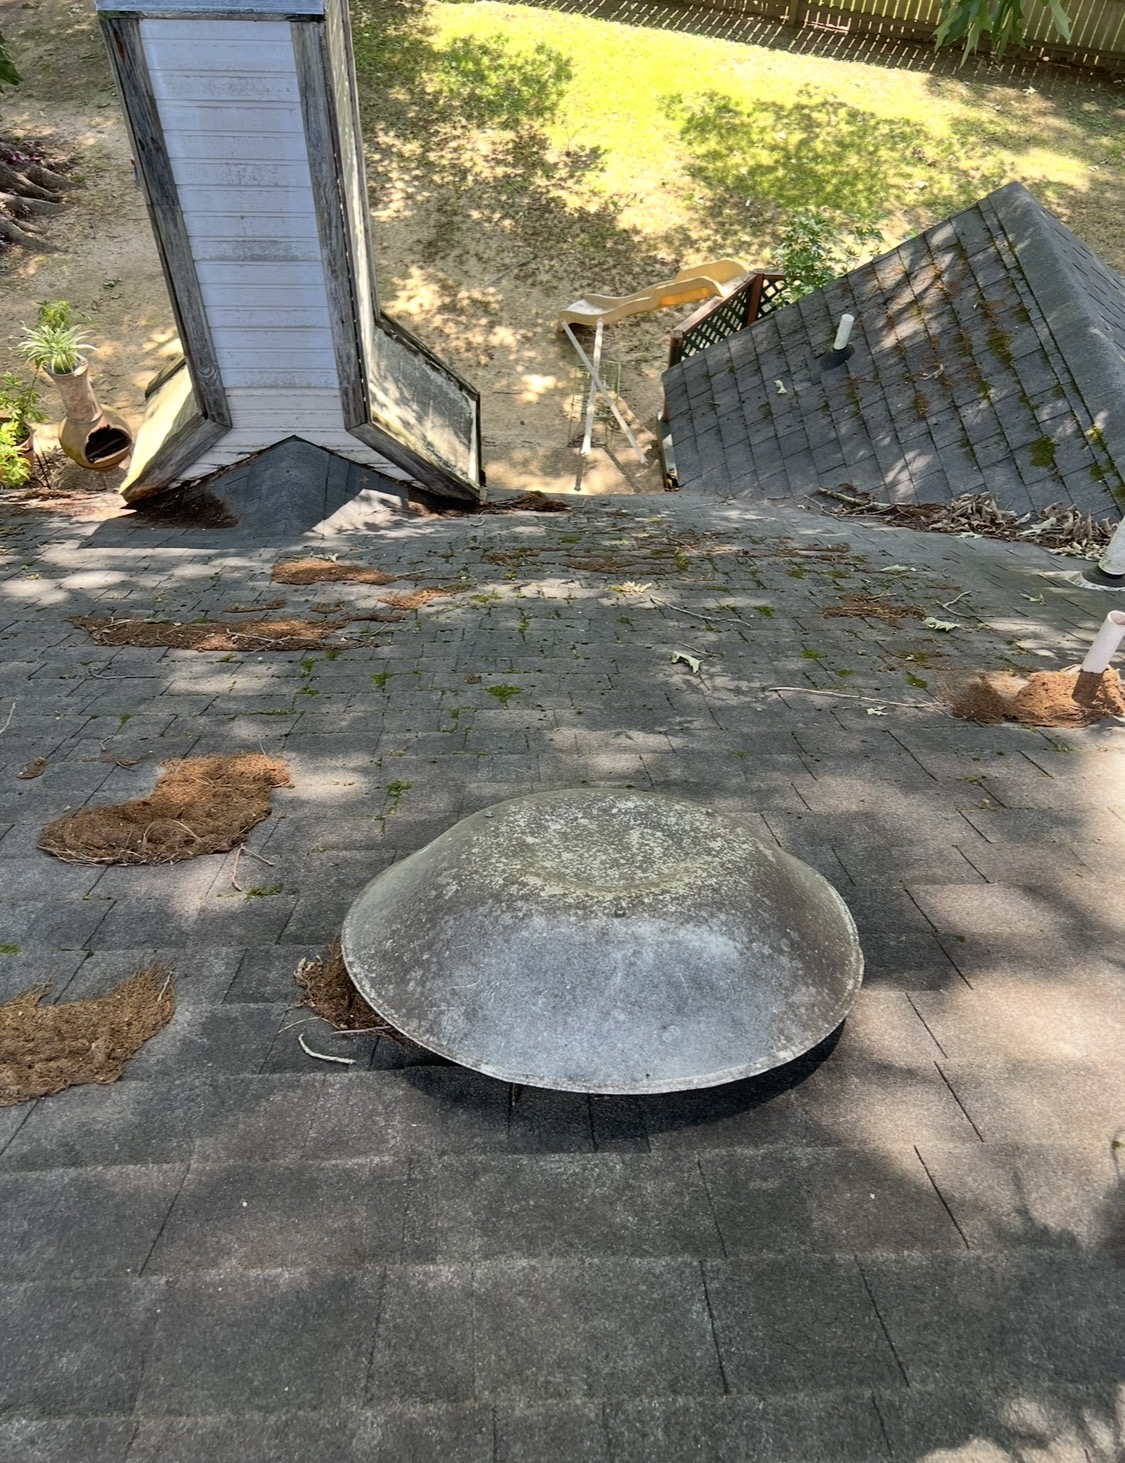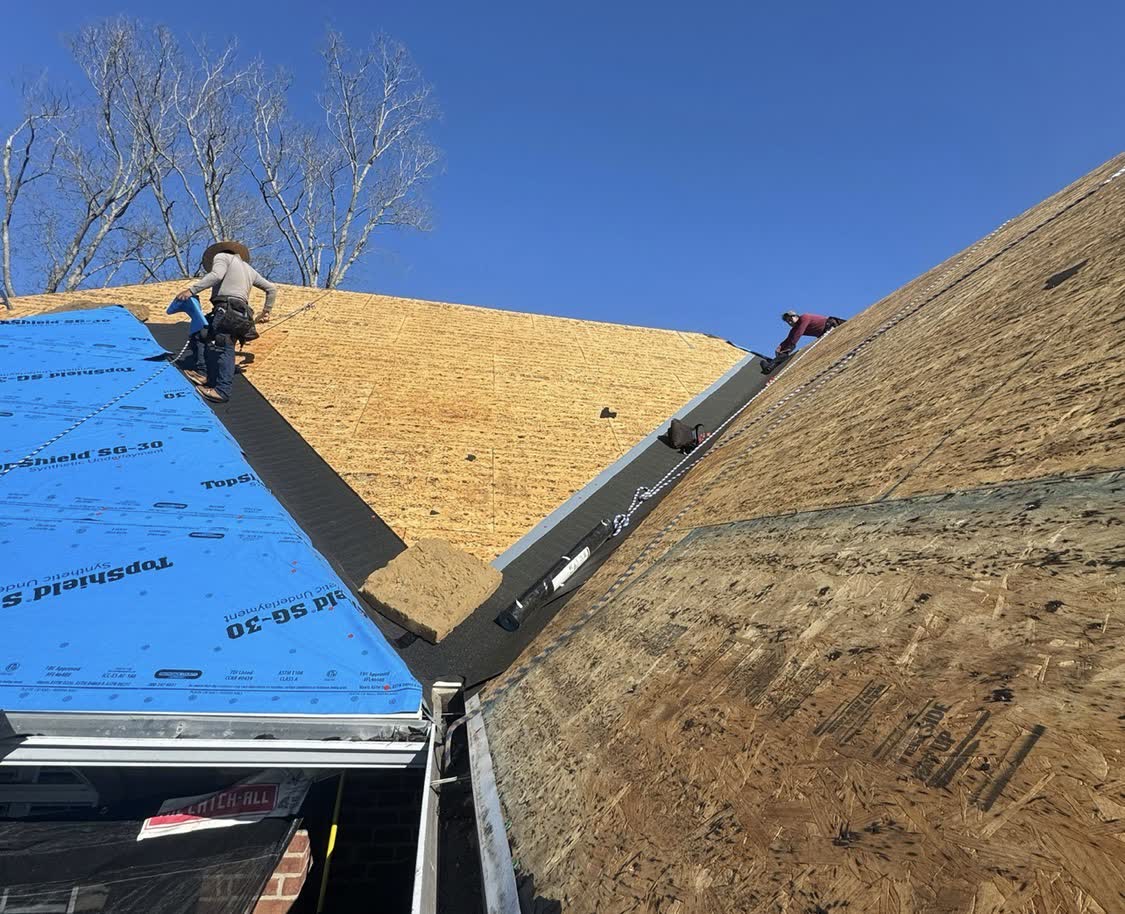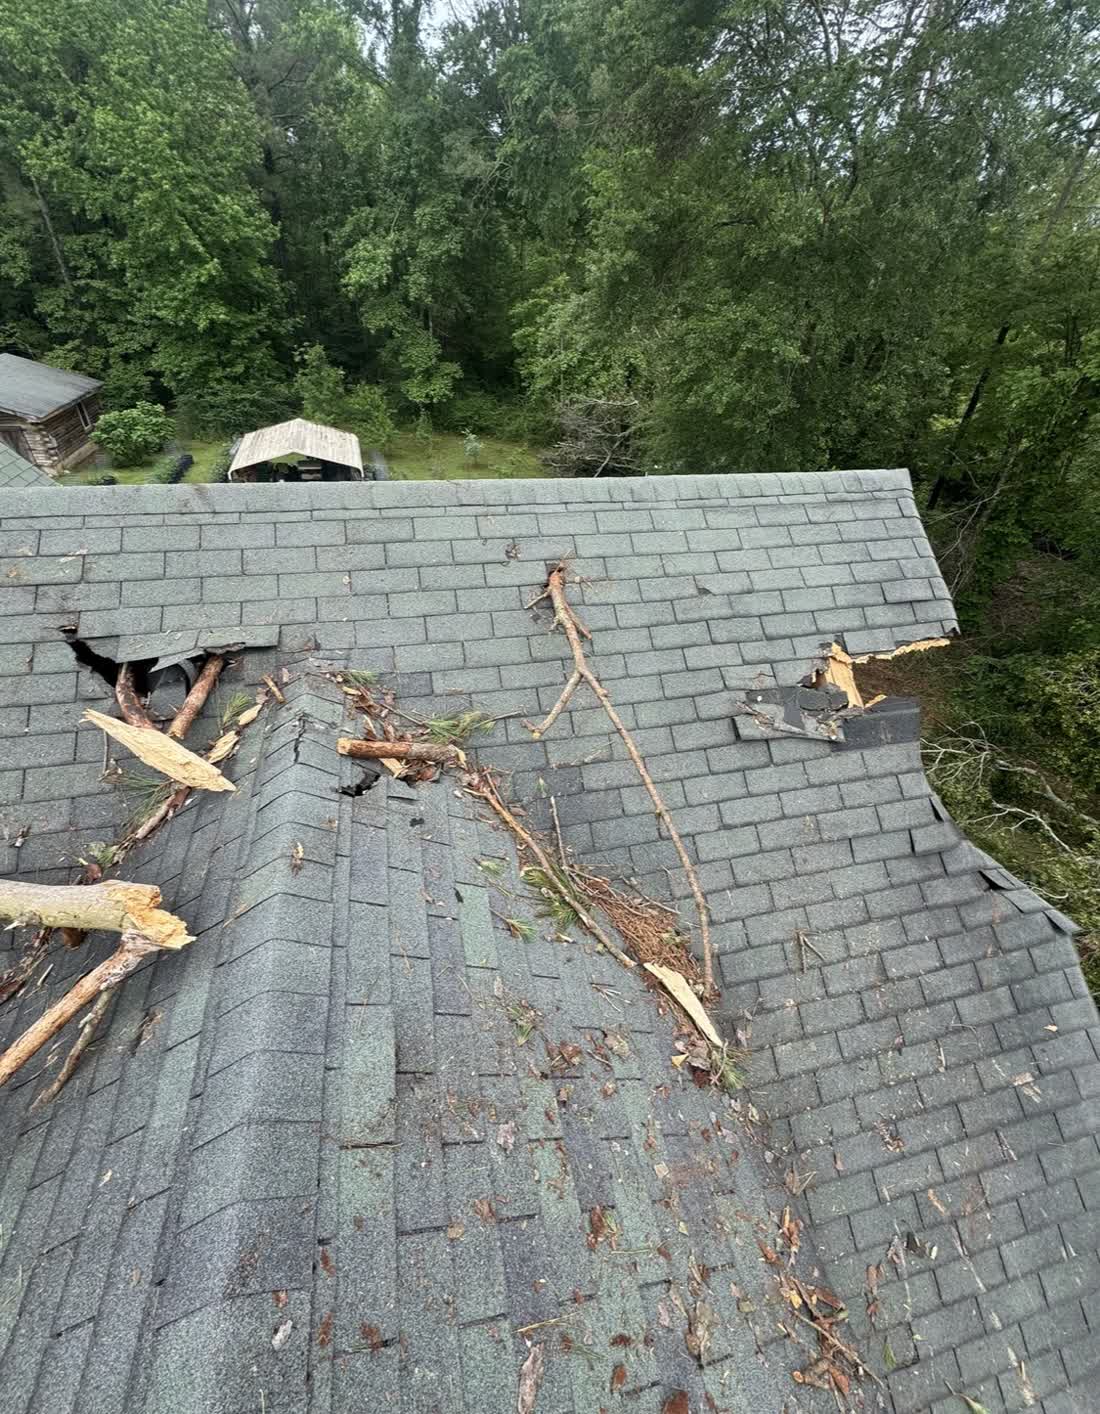
We understand the appeal. A leak shows up, the hardware store is ten minutes away, and a tube of roof cement costs less than a service call. The problem is that most of the DIY roof repairs we see across Florence, Pearl, and Brandon do not fix the leak. They hide it, and the water keeps working underneath until the decking is soft.
Here are the fixes we undo most often, why they fail in a Mississippi climate, and what is genuinely safe for a homeowner to handle.
1. Roof cement or caulk over a leak
This is the most common one. Black roof cement smeared over a suspect spot, or a bead of silicone along a shingle edge. It looks sealed. It is not.
Shingles are designed to shed water downhill in overlapping courses. Cement across the surface traps water that gets under the course above instead of letting it drain. In our summer heat, the cement softens, slumps, and cracks within a season or two, and when it does the water has a new path straight into the crack. Worse, the cement makes the actual cause, usually a cracked boot or lifted flashing nearby, harder to find and harder to repair later because the shingles are now glued together.
What to do instead: find the source. Leaks rarely start where the water shows up inside. A real repair replaces the failed part rather than coating it.
2. Pressure washing the roof
Black streaks and moss make a roof look tired, and a pressure washer seems like the obvious answer. It is one of the fastest ways to destroy a shingle roof. High-pressure water strips the granules that protect the asphalt from sun, drives water up under the shingles, and can break the seal strip that keeps them down in wind. A roof that looked ten years old before the wash can behave like a twenty-year-old roof after it.
What to do instead: the black streaks are algae and are mostly cosmetic. Moss should be removed, but with a low-pressure rinse and a roof-safe cleaner applied from the ridge down, or by a contractor who does soft washing. Trim the limbs that shade the roof so it dries faster, and the moss will slow down on its own.
3. Face-nailing shingles
When a shingle lifts or a tab blows off, the instinct is to nail it back down through the exposed surface. Every one of those nails is now a hole in the top of the roof with nothing covering it. Roofing nails belong under the course above, in the nail zone the manufacturer marks on the shingle, so the shingle over them sheds the water. Face nails leak. They also void the manufacturer's warranty on that area.
What to do instead: a blown-off shingle is replaced by working the nails out of the shingle above, sliding the new one in, and nailing it in the correct zone. It takes a few minutes for someone who does it every week.
4. Wrong nails, wrong length, wrong count
Deck screws, drywall screws, short nails, and staples all show up in DIY repairs. They back out, they rust, and they do not hold in wind. Shingles reach their wind rating only with the specified number of roofing nails, at the specified length, driven flush and in the right place. A shingle with two nails instead of four is the first one to go in a spring storm.
5. Sealing or covering the vents
Homeowners sometimes seal soffit vents, cover a turbine that squeaks, or stuff insulation into the ridge vent to stop a draft. All of that chokes the attic. The residential building code calls for a minimum net free vent area, and shingle manufacturers tie their warranties to it, because a sealed attic in a Mississippi summer bakes the shingles from underneath and collects moisture in winter. Our post on attic ventilation explains what balanced venting looks like.
6. Tar on the flashing
Flashing at chimneys and walls fails when the metal rusts, the counter flashing pulls out of the mortar joint, or the step flashing was never installed correctly in the first place. A layer of tar over the top does not fix any of those. It bakes hard, cracks, and pulls away from the brick within a couple of seasons. Meanwhile the water follows the flashing down behind the brick or siding, where you cannot see it. See where most leaks start for what correct flashing looks like.
7. Walking on the roof in summer
This one is not a repair, but it causes damage. On a hot afternoon the shingle surface is soft, and every step scuffs granules loose and can crease the shingle. It is also when people slip. If you must go up, go early in the morning when the surface is cool and dry, wear soft-soled shoes, and stay off the steep slopes.
8. Mismatched patches
A 3-tab shingle patched into an architectural roof, or a shingle from a different manufacturer with a different exposure, does not lay flat and does not seal to the shingles around it. It also flags the roof as patched for anyone who looks at it, including a future buyer's inspector. Matching is harder on older roofs because shingles fade, and we will tell you honestly what to expect before we start.
9. Repairing before the adjuster has seen it
After a storm, your policy expects you to prevent further damage, and the Mississippi Insurance Department's guide says to keep receipts for those emergency measures. What it does not expect is permanent repairs before the adjuster has documented the damage. Replacing shingles before the inspection can make it impossible to prove what the storm did. Tarp it, photograph it, and file the claim first. Our guide on what to do after a storm covers the order.
What homeowners can safely do
There is plenty of useful maintenance that does not involve a roof surface:
- Keep gutters clear so water does not back up under the shingles at the eave. Do it from a ladder with someone holding the base, not from the roof.
- Trim limbs back from the roofline so they cannot scrape shingles or drop debris.
- Look at the roof from the ground after every storm, and at the ceilings and attic a few times a year.
- Photograph anything that looks off and send it to us. We can often tell you from a photo whether it needs a visit.
- Schedule a free inspection once a year. Most small problems are cheap when caught early.
Why the professional repair is usually the cheaper one
Most of the repairs we do after a DIY attempt cost more than the original problem would have, because we are now replacing shingles glued together with cement, pulling face nails, and checking decking that has been wet for a season. A cracked pipe boot is a quick fix. A cracked pipe boot under a mound of roof cement over wet decking is not. Our inspection is free, and if the problem is something you can safely handle yourself, we will say so.